
Inventory Adjustment
When you find it necessary to make an inventory adjustment to correct quantities for a few items, you will want to complete an Inventory Adjustment.
1.) Click on Views 🡪 Receiving
2.) Click on the Receipt icon 
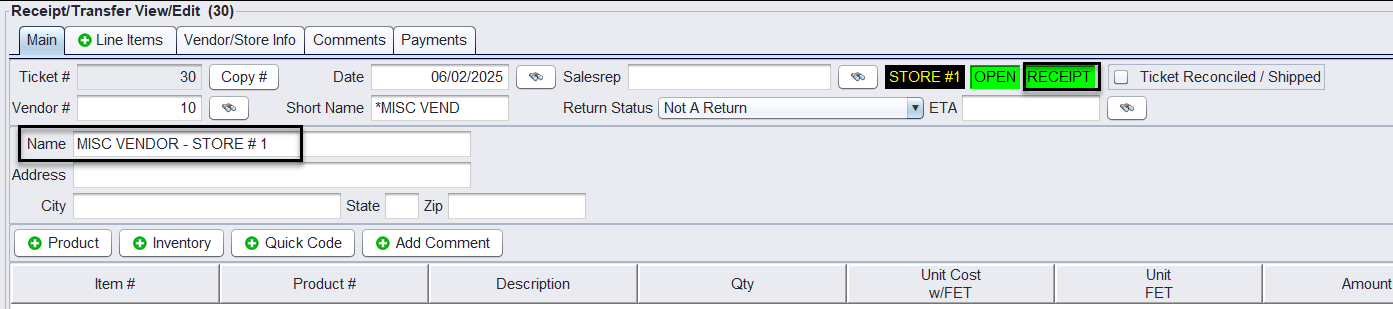
3.) Make sure the vendor is set to your Inventory Adjustment vendor -OR- #10 MISC VENDOR. If it is, click OK. Otherwise, click on the “Select Vendor/Store” option and find your ADJ/MISC VENDOR. Highlight them and click OK to bring them back to your receipt.
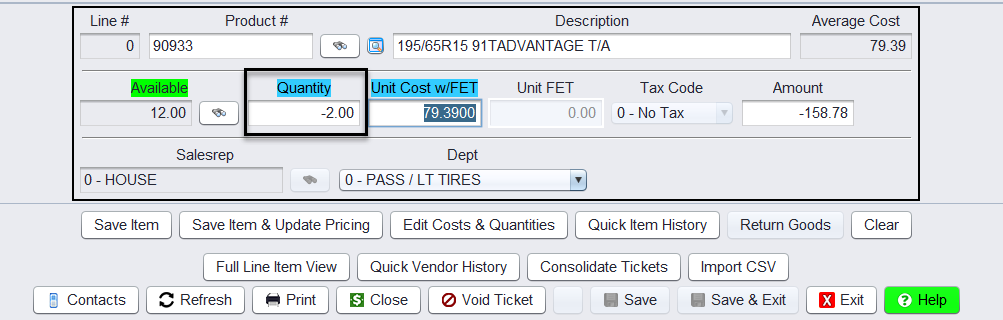
4.) Click on the Line Items tab
5.) Type in the Product # you want to adjust and <enter> down to the Quantity field
6.) Type in the quantity you are adjusting in or out (negative quantities to remove inventory and positive quantities to add inventory)
7.) Click the Save button to add to your receipt:
8.) Repeat for each item you are needing to adjust
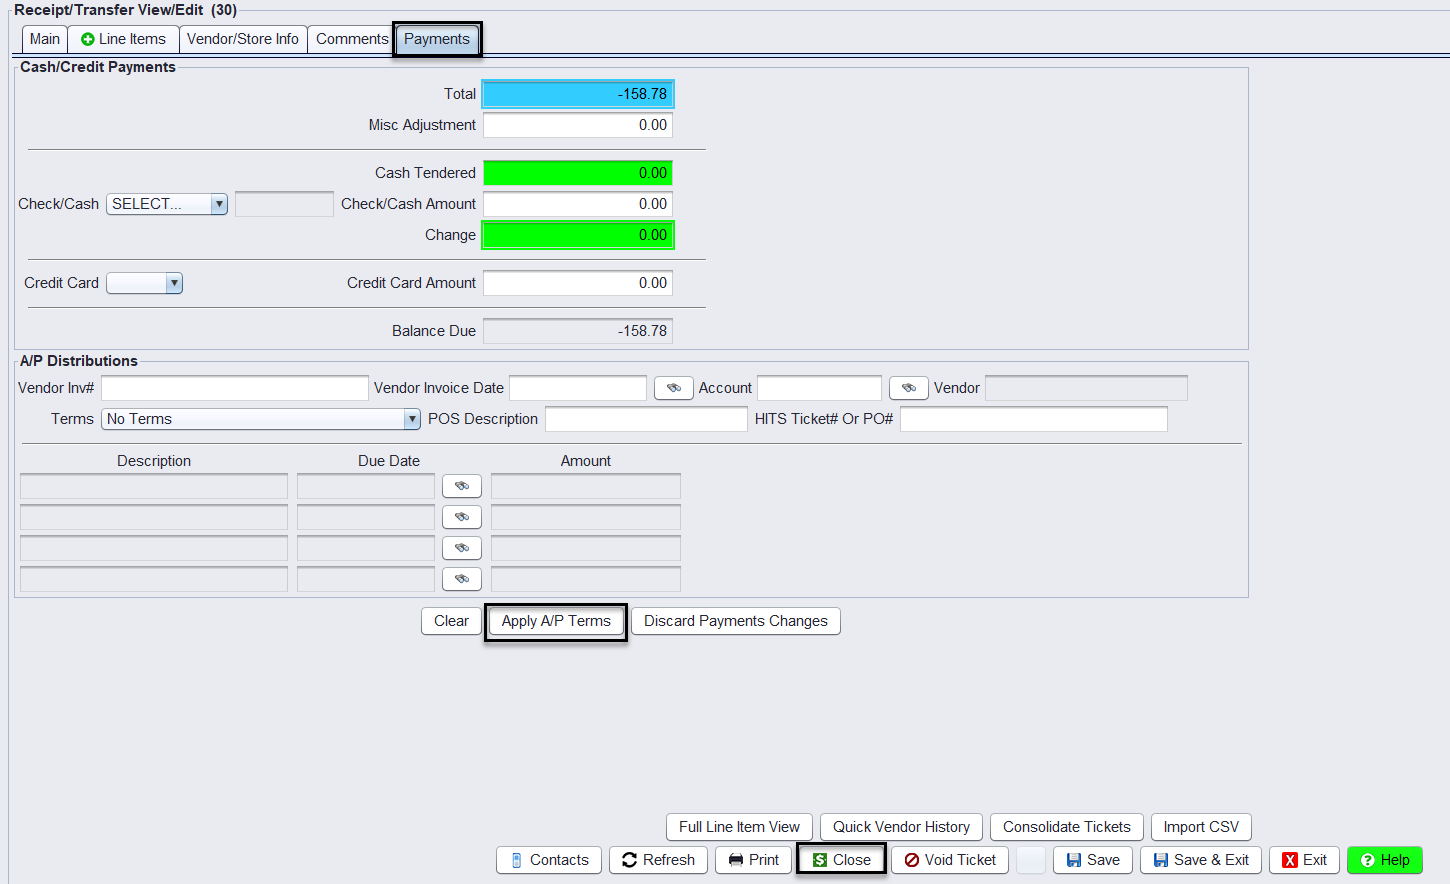
9.) When you are ready to finalize the adjustment ticket, click on the Payments tab
10.) Click on the Apply A/P Terms
11.) Click on the Close button
12.) Change Return Status to Not a Return:
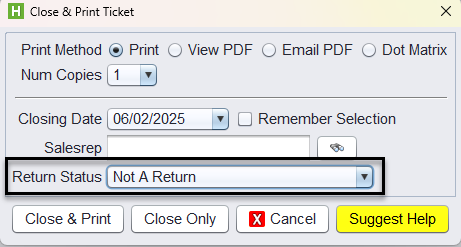
The Return Status will only appear if the amount entered is in the negative.
13.) Then click on either Close & Print or Close Only (for not printed copy)