To setup and configure your custom dashboard cards, in HITS Digital, navigate to Settings > Dashboard > Card Setup > Edit.

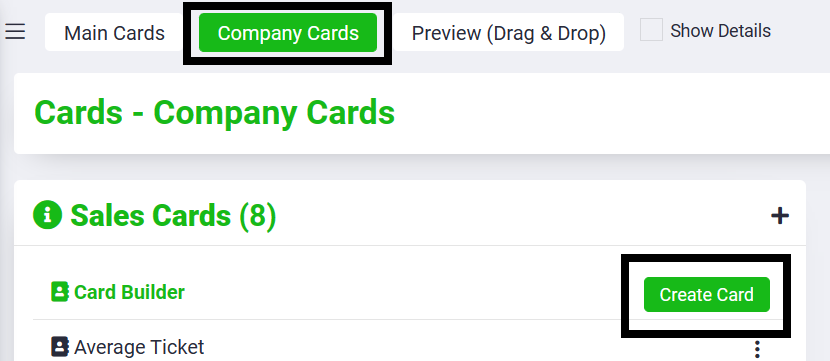
To edit existing cards or to create new cards, click on the Company Cards tab. To create a new card, click Create Card.
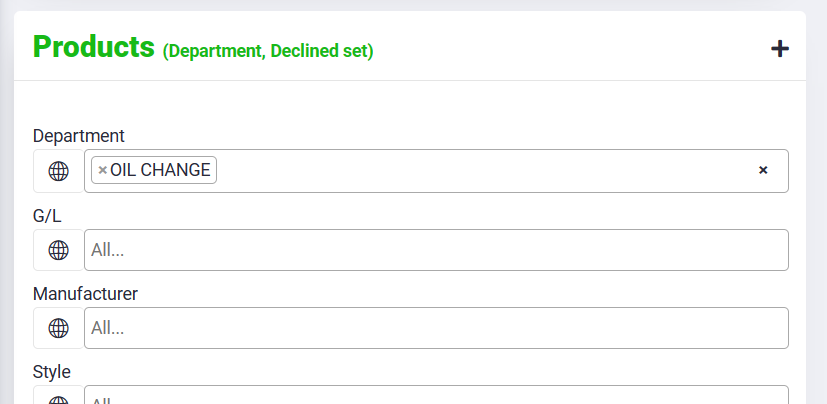
From the Product section, set the filters for the sales data desired on the new card. Filters can be, for example, products in a department, a list of product codes, a manufacturer, style, or class.
Multiple filters can be set using AND logic. For example, if you created a card with Department = “Oil Change”, and Good/Service = “Service”, this would report only the service items in the oil change department.
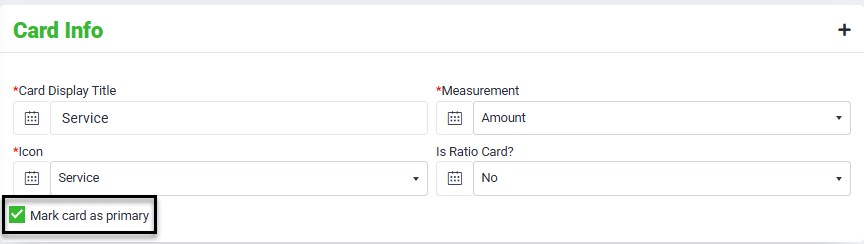
From the Card Info tab, the following required information will be required: (a) Card Display Title; (b) Measurement; (c) Icon.
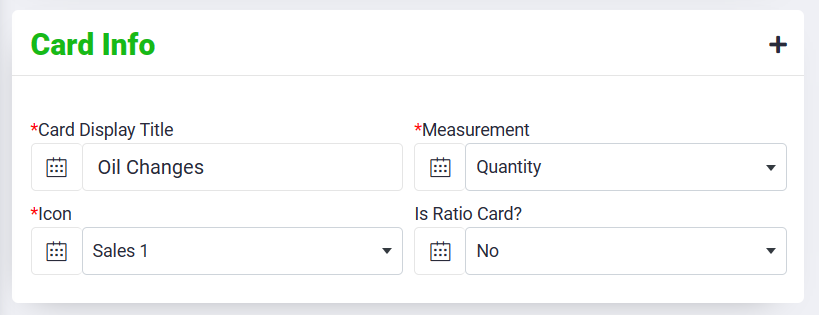
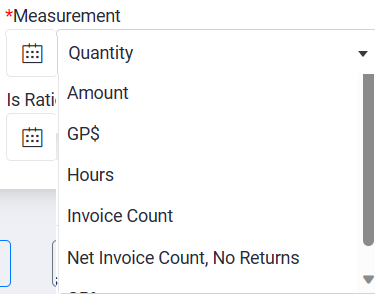
Card can utilize the following Measurements which will determine what value is calculated on the card:
Quantity – total units
Amount – Sales $
GP$ – Gross Profit $
GP% – Gross Profit %
Hours – Quantity x Flag Time (for technicians)
Invoice Count – total count of tickets (used for car count)
Net Invoice Count, No Returns – total count of tickets >$0 (used for ARO)
Primary Card Feature
When a card is marked as Primary, it will appear at the top of the sales card view for quick access. All other non-primary cards are automatically hidden to reduce visual clutter, but users can easily reveal them by clicking Show All Cards.
By default, all cards are set as Primary.
To change this setting:
1.) Login to HITS Digital.
2.) Go to Settings > Card Setup and click on the Company Cards tab.
3.) Select the card you want to edit.
4.) Scroll down to Card Info and check or uncheck Mark card as primary as needed.
To finalize the new card click the Preview button. As is the case for all reports in HITS Digital the report/ card needs to be previewed prior to saving to collection. After previewing, return to this screen and click Save Card To Collection.

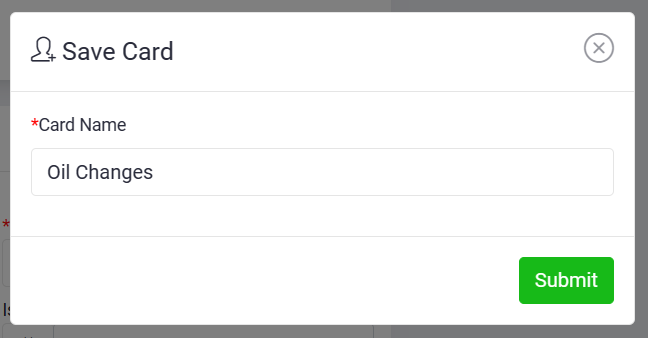
Enter the name of the new card and click Submit.
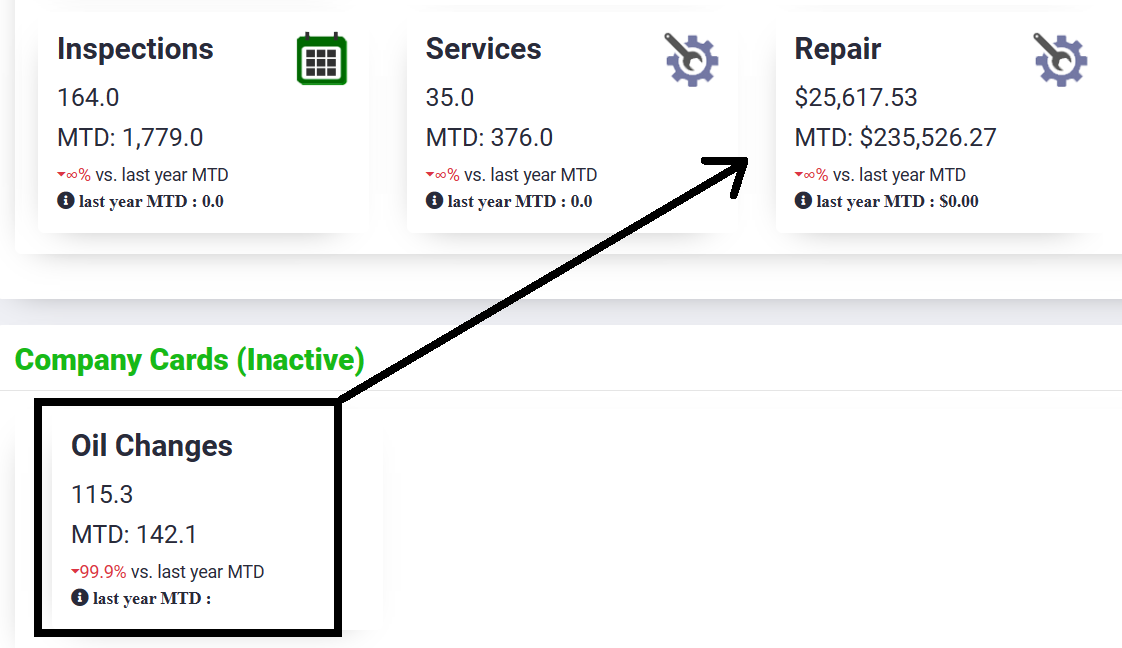
This will create the new card and take you to the Preview (Drag & Drop) screen. From this screen, from the Inactive section, drag your new card onto the top section where you want the card to display. By dragging the new card to the top section, your card will be saved as an active card on the dashboard.
Ratio Cards
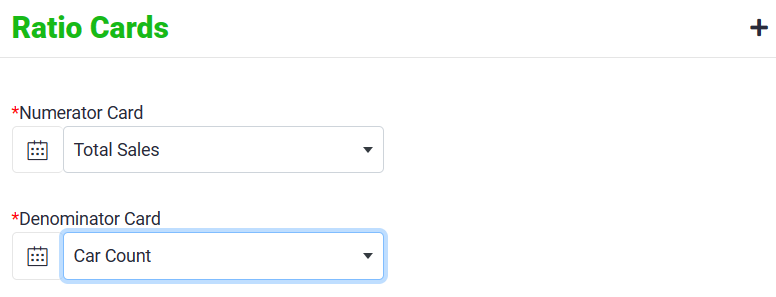
You can also create ratio cards. Ratio cards are for measurement in which Card1 / Card2. Average Ticket Amount could be created as a ratio card, for example by creating two cards; Total Sales / Invoice Count.
To set the card as a ratio card, first select Is Ratio Card = Yes
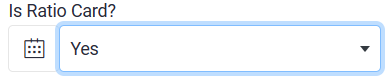
Then from the dropdowns, you can select which cards you want to use for the ratio card. Then proceed to the Preview and Save buttons to save the new ratio card.