WordPress offers a variety of plugins to add extra features to your site. One of these, Popup Maker, allows you to display important messages, highlight promotions, or guide visitors to specific content.
This guide explains how to create and configure popups within your Tirelink WordPress site using Popup Maker. You’ll learn how to design popup content, set display rules, and control when and where popups appear—whether based on timing (such as a delay), user actions (like a click), or specific pages.
Please note that while this document covers Popup Maker setup and usage within Tirelink, any technical issues or plugin-related problems should be directed to the Popup Maker support team. Use at your discretion.
✅ What You Need First
Before you start, make sure you have:
- Admin access to the WordPress site
- The Popup Maker plugin installed and activated – Please reach out to tech@aasys.com if you do not see the Popup Maker plugin
- A clear idea of what the popup should say and when it should appear (like after a few seconds or when someone clicks a button)
🛠️ How to Set It Up
1. Create a Popup
-
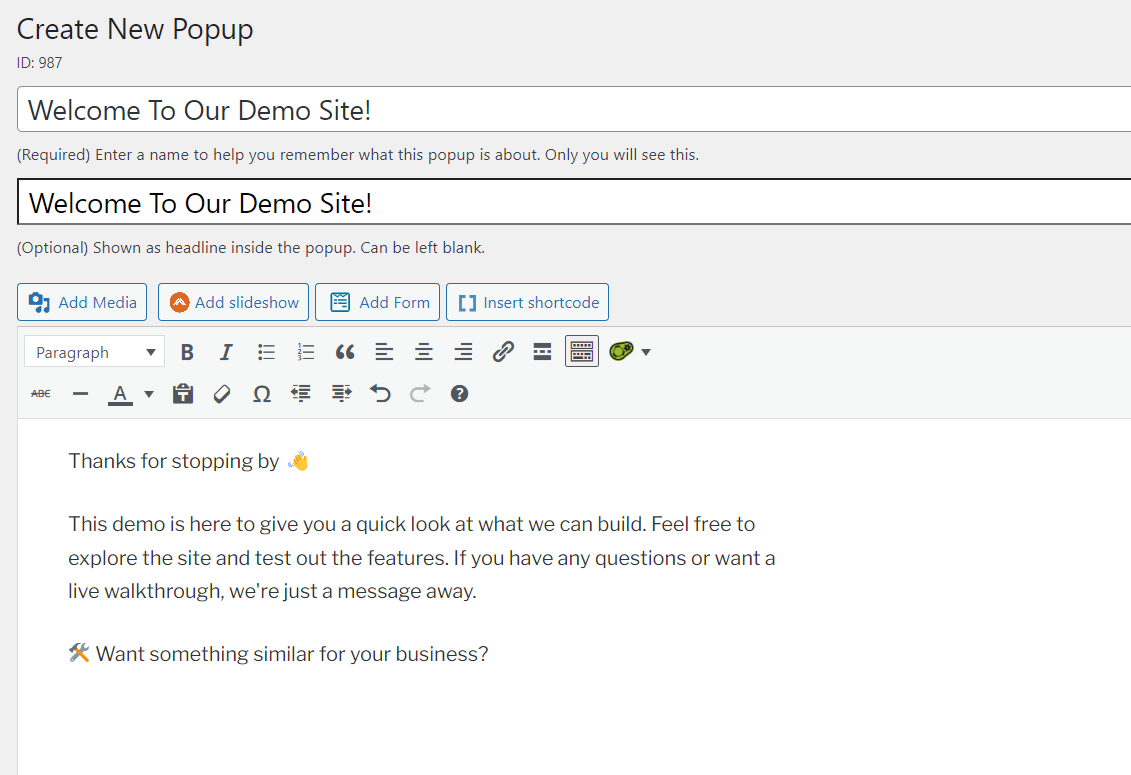
- Go to Popup Maker > select Create New Popup tab
- Give it a name (just for your reference)
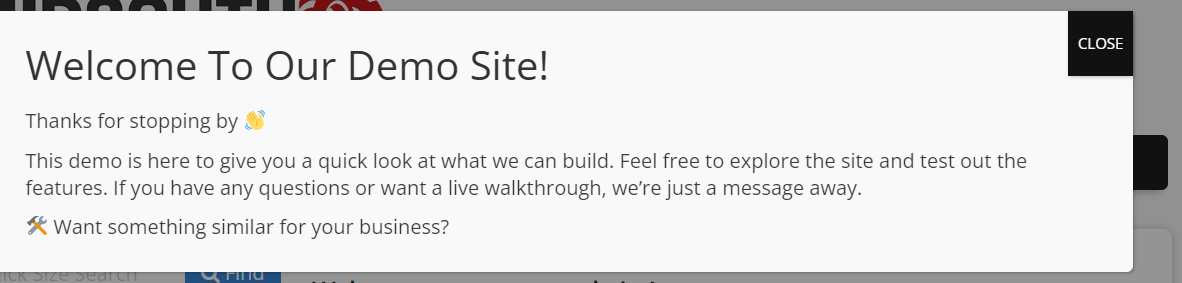
- Add your content — this could be text, an image, or a form
2 . Set When the Popup Appears
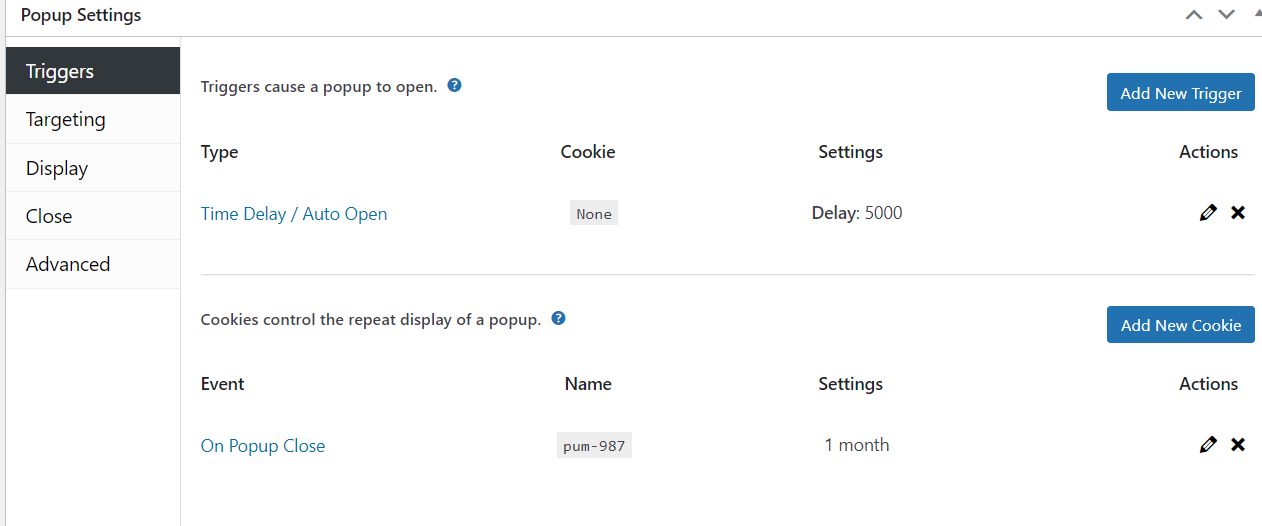
Under Popup Settings (below the editor):
-
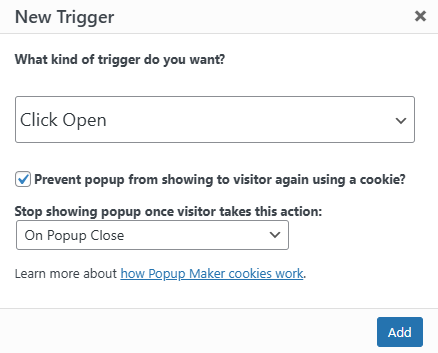
- Click Triggers > Add New Trigger
- Choose how the popup should appear:
- Time Delay – shows up after a few seconds
- Choose Auto Open (this means the popup opens automatically when the page loads)
- If using time delay, enter the number of milliseconds (e.g., 5000 = 5 seconds)
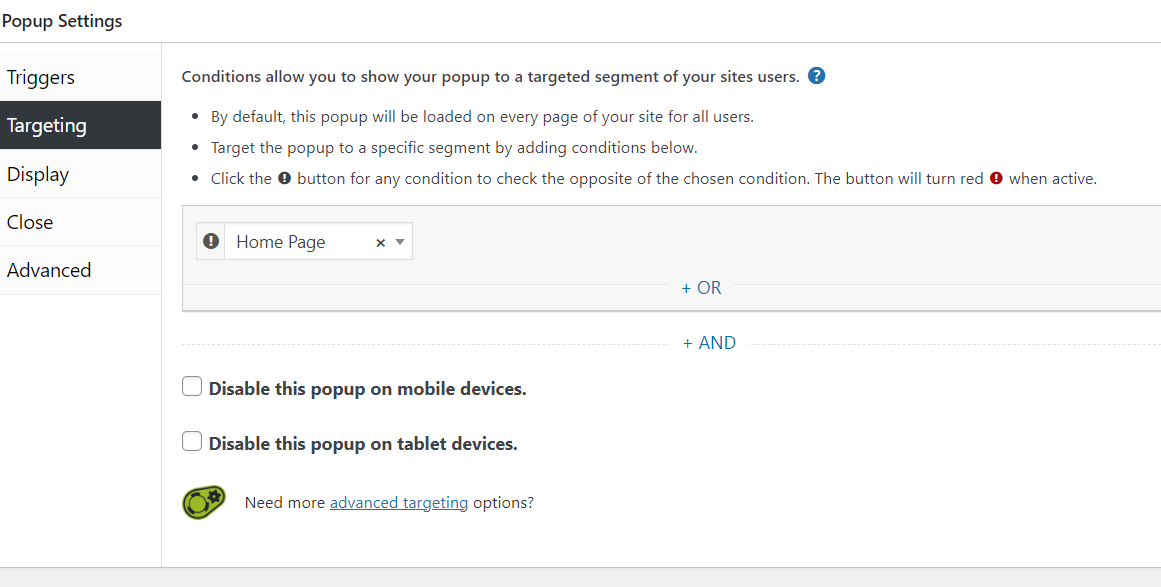
3. Choose Where the Popup Shows
-
- Click the Targeting tab
- Pick where the popup should show (like only on the homepage or on all pages)
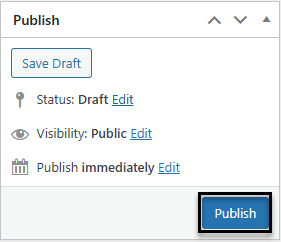
4 . Save and Test It
-
- Click Publish on the right hand side
-
- Make sure it works the way you expected