
This guide explains navigating and managing quotes, work orders, and invoices within the HITS system. It includes steps for converting quotes to work orders, retrieving work orders, and finalizing invoices.
1. Understanding Ticket Types

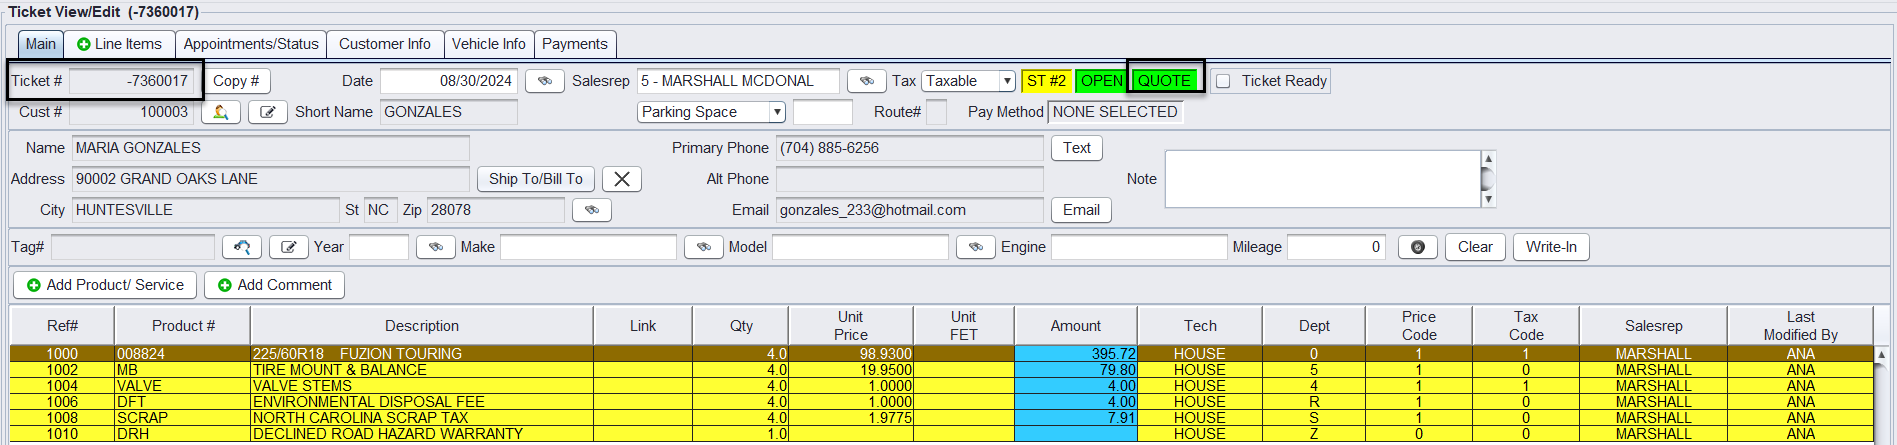
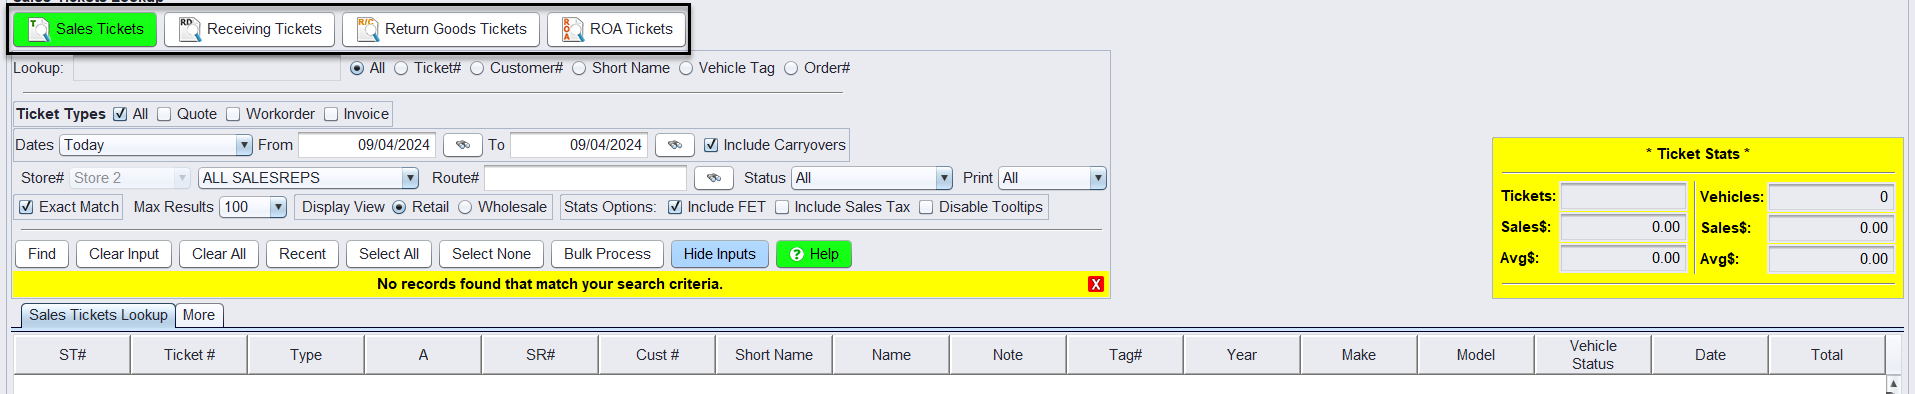
- Sales Tickets – Quotes vs. Work Orders: On the sales counter view, you will see tickets labeled as either quotes or workorders. Both types are considered Open tickets and can be edited until closed. Please note: Quote ticket # will start with a negative number and workorders with a positive.
-
- Converting Quotes to Work Orders: To convert a quote to a work order, click the Convert button at the bottom of the ticket.
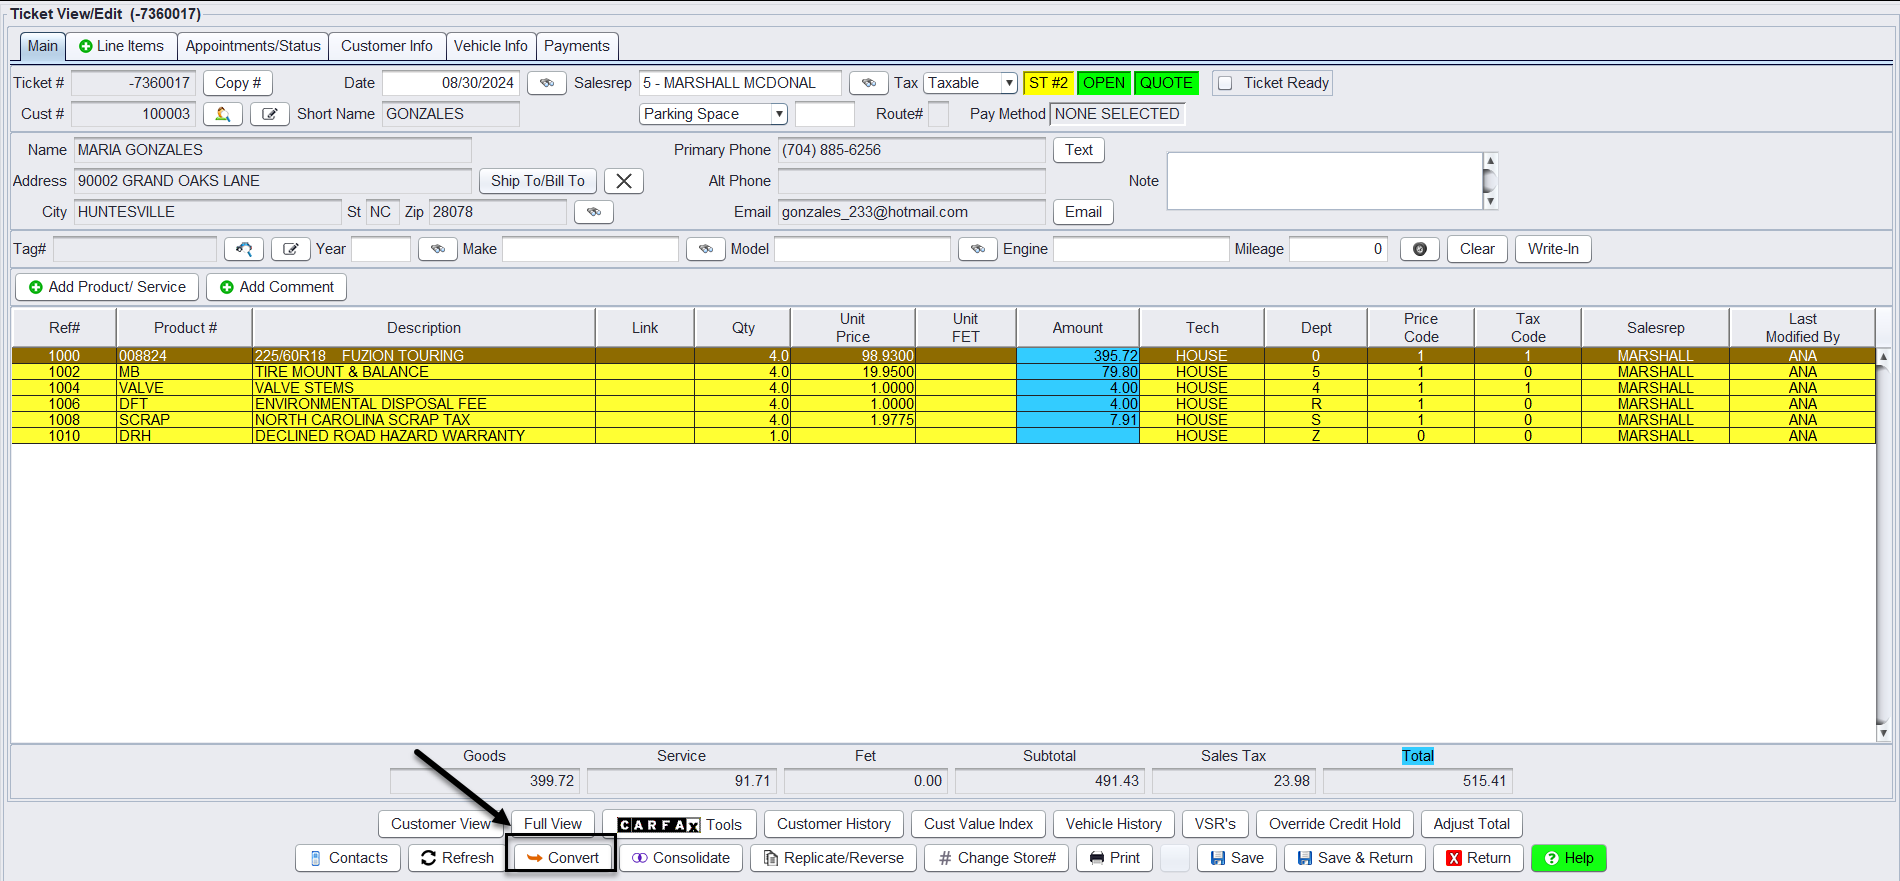
- Converting Quotes to Work Orders: To convert a quote to a work order, click the Convert button at the bottom of the ticket.
You will be asked to confirm the conversion from a Quote to a Workorder on the next screen, select Convert.

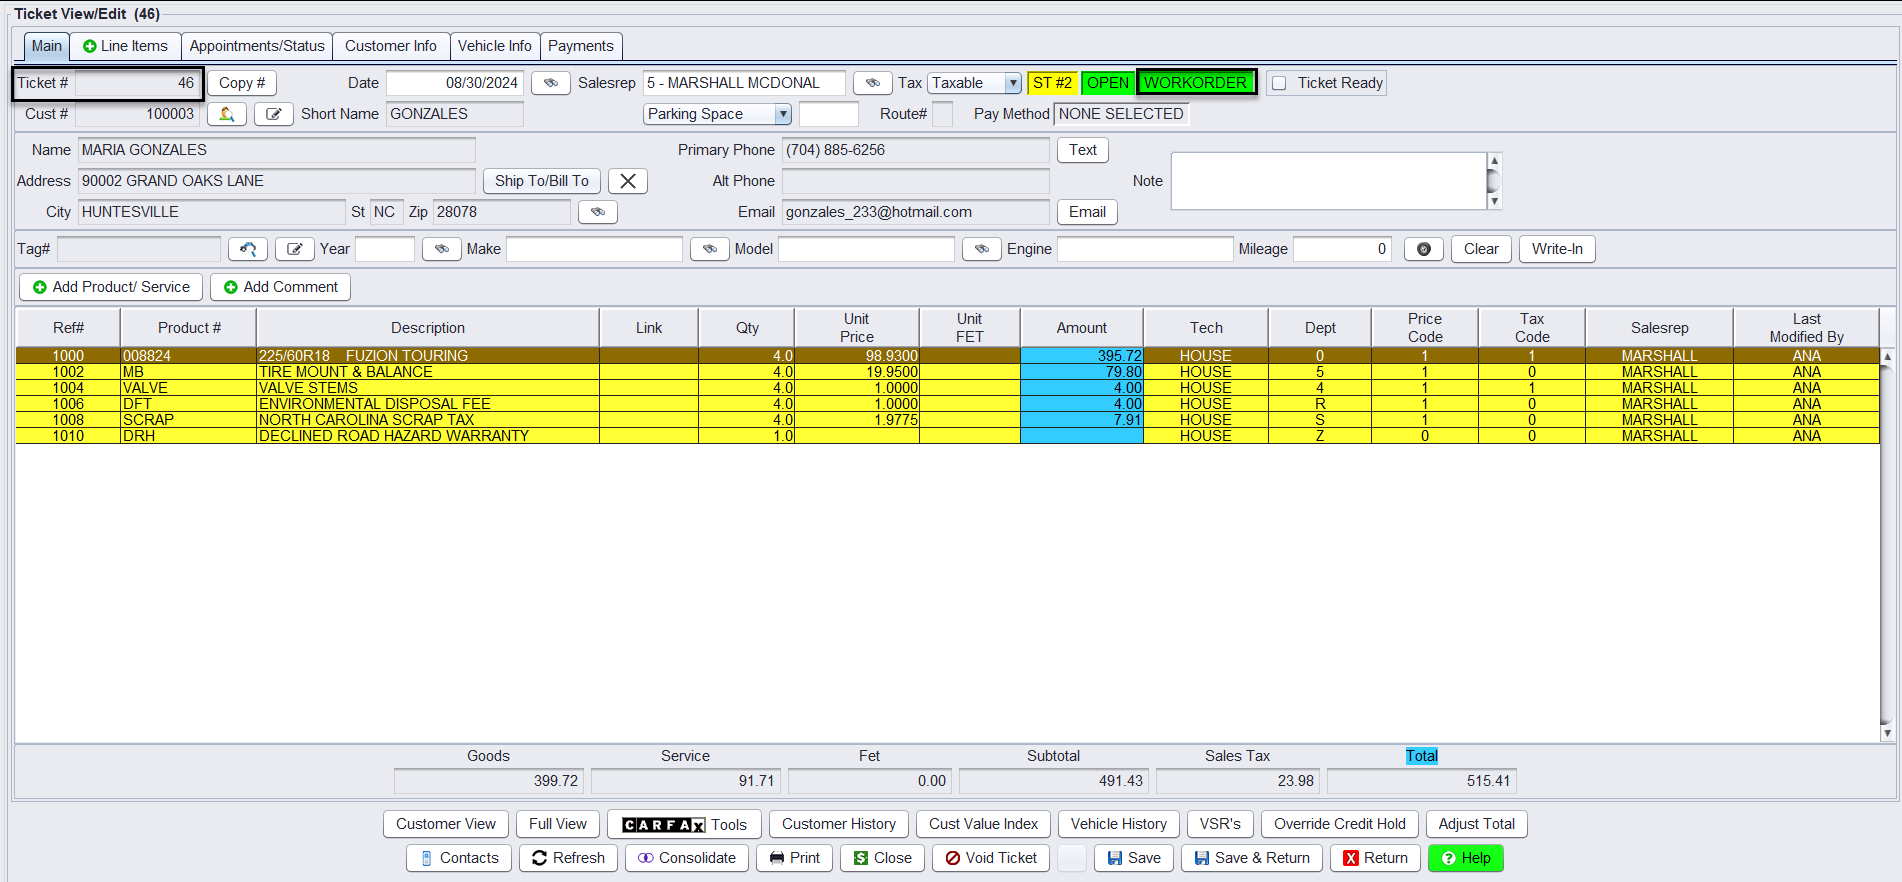
Now the ticket has been converted to a Workorder. Please note: Once converted to a Workorder, the ticket # will be changed to the next consecutive workorder #.
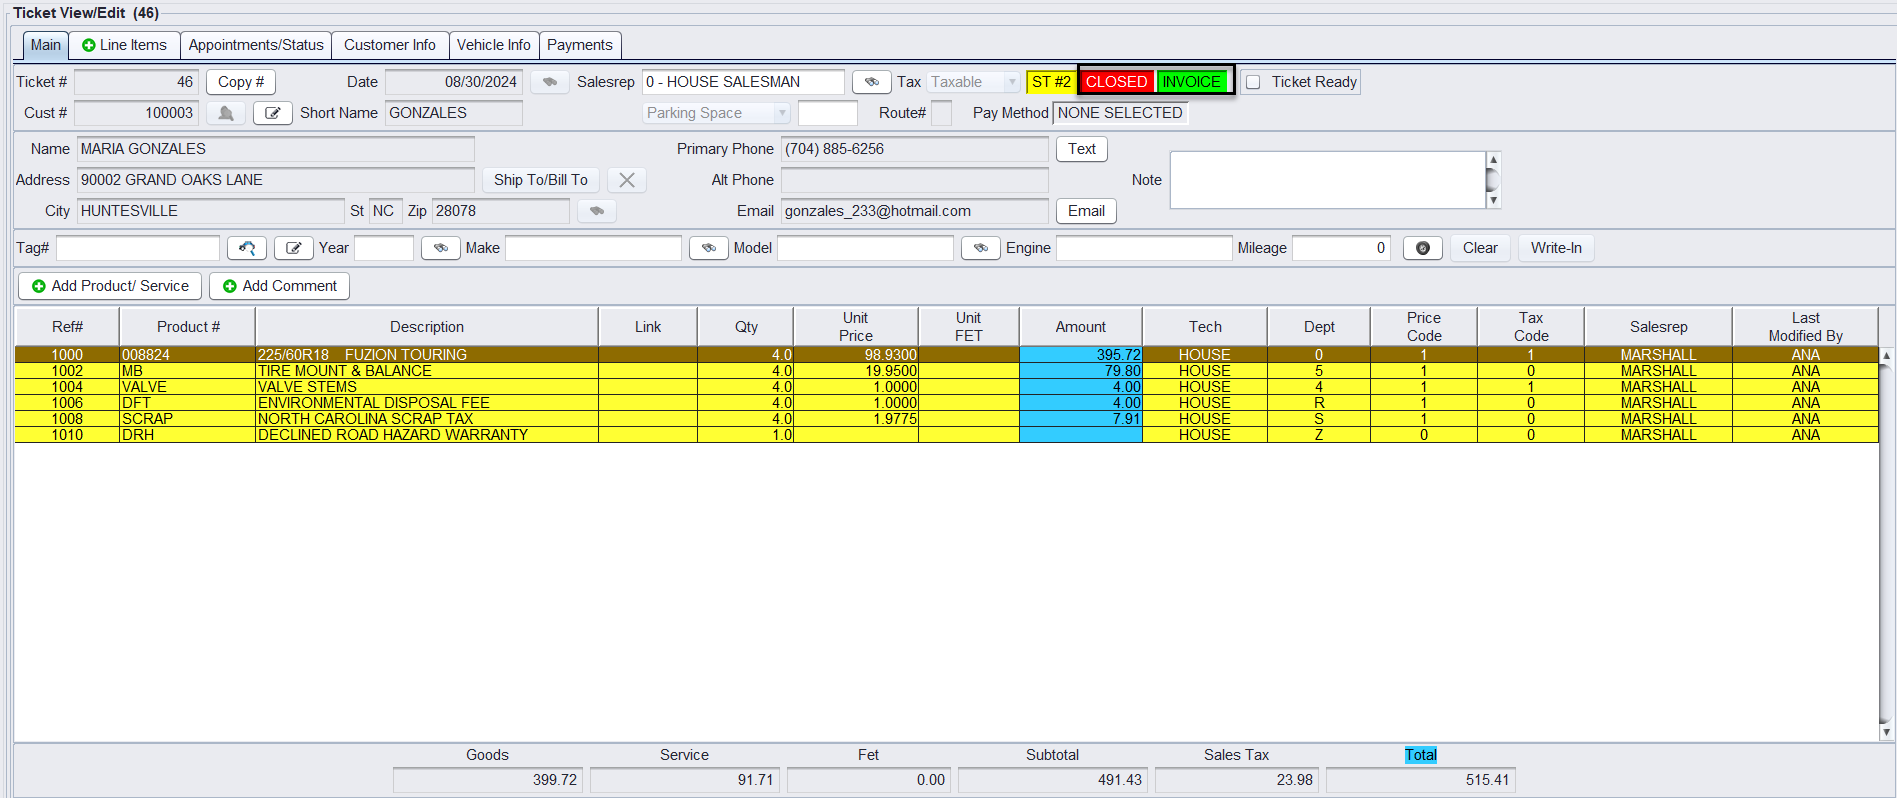
- Closed Invoices: Once the customer has paid, and the workorder is Closed, the ticket is flagged as a Closed Invoice.
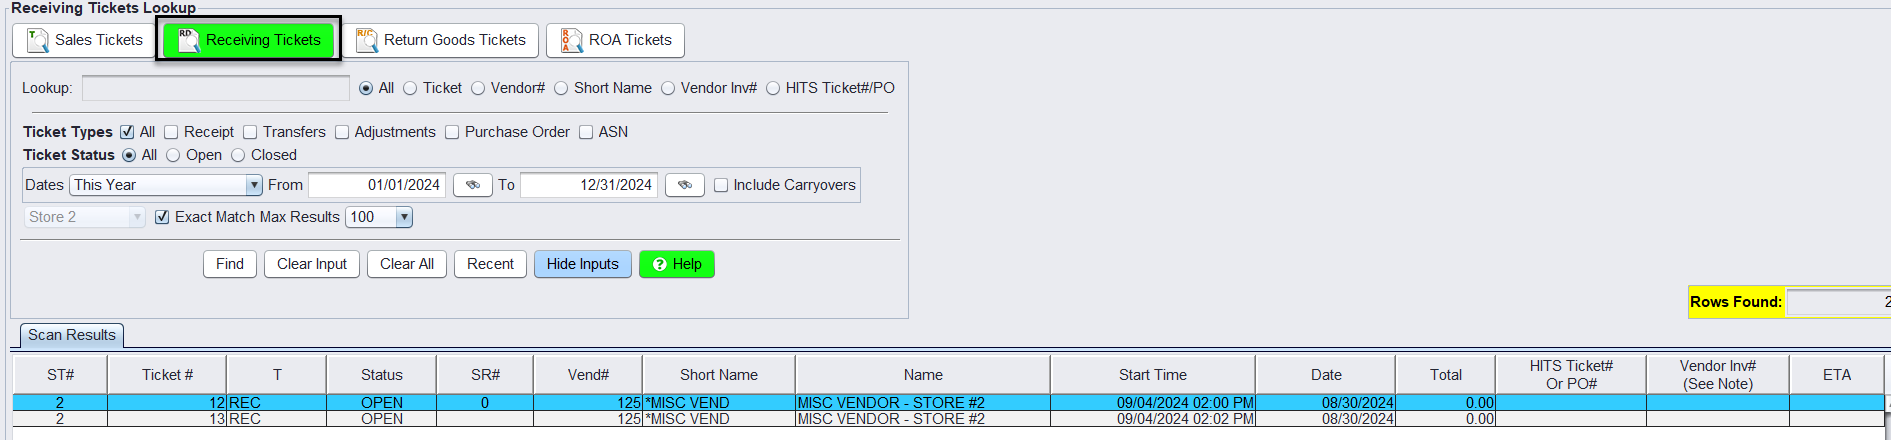
- Receiving Tickets are tickets created to document the receipt of goods, transfers, adjustments for inventory.
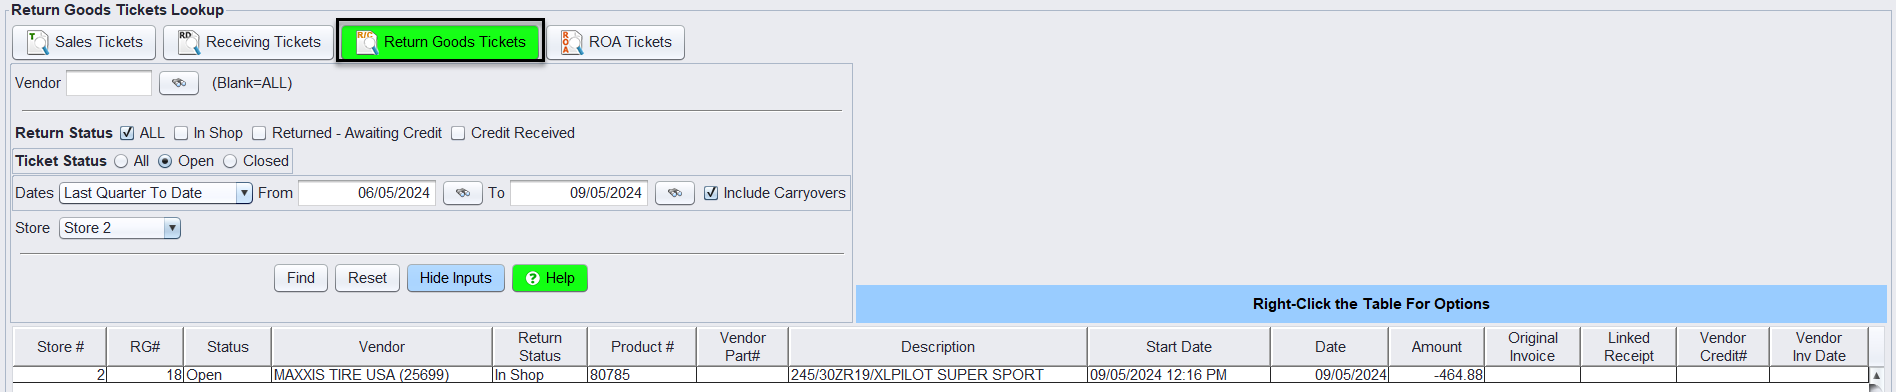
- Return Goods Tickets are tickets on returned good items and are recorded with a negative amount.
2. Retrieving Work Orders

- Fetching by Number: If you have the printed workorder, use the Fetch# icon on the toolbar to enter the workorder number. Enter the Ticket# and select OK.

- Using Lookup Screens: If the ticket is not in hand, you can access all tickets for the day via the Ticket Lookup Screen by selecting the Tickets icon. The lookup can be filtered and narrowed down to specific
- Work in Process Screens: For users of the Appointment or Bay Management system, work orders can be viewed via the Appointment List or Bay Management screens.
3. Navigating the Ticket Interface
- Main Tab: Enter customer, vehicle, and sales rep information here. Some fields allow you to enter directly into the field, others require you to edit the field with the buttons next to the field.

- Line Item Tab: Add services, packages, tires, parts, labor, and comments to the ticket. You can add the items from the Product # box, and make changes to the line items with the buttons below. Make sure to Save the item added with the Save Item button. Right-clicking in the whitespace provides additional menu items to edit the ticket.

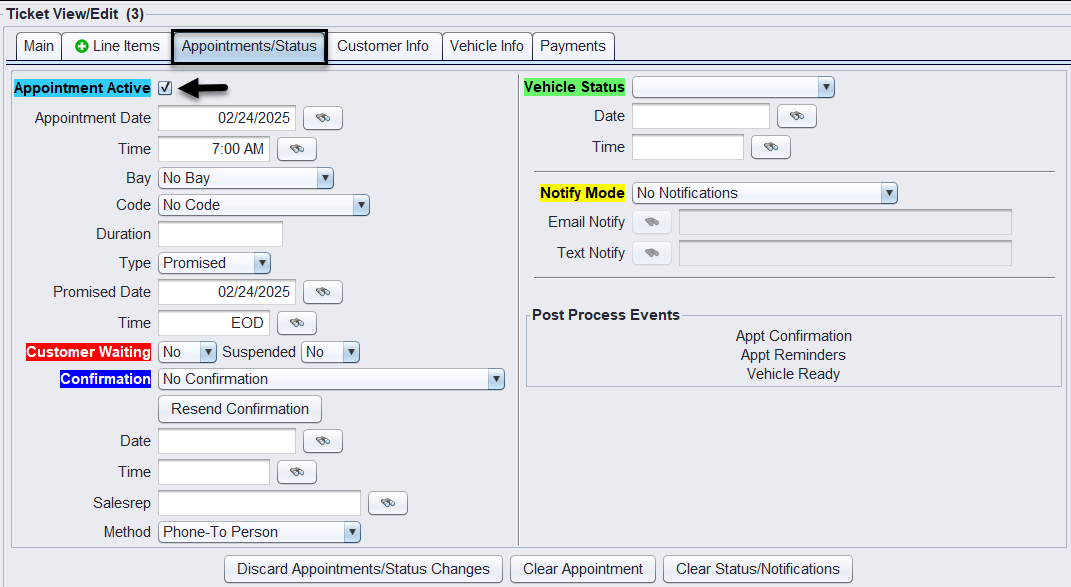
- Appointment Tab: If your business handles appointments, edit appointment details here. Ensure the Appointment Active is checked to make changes.
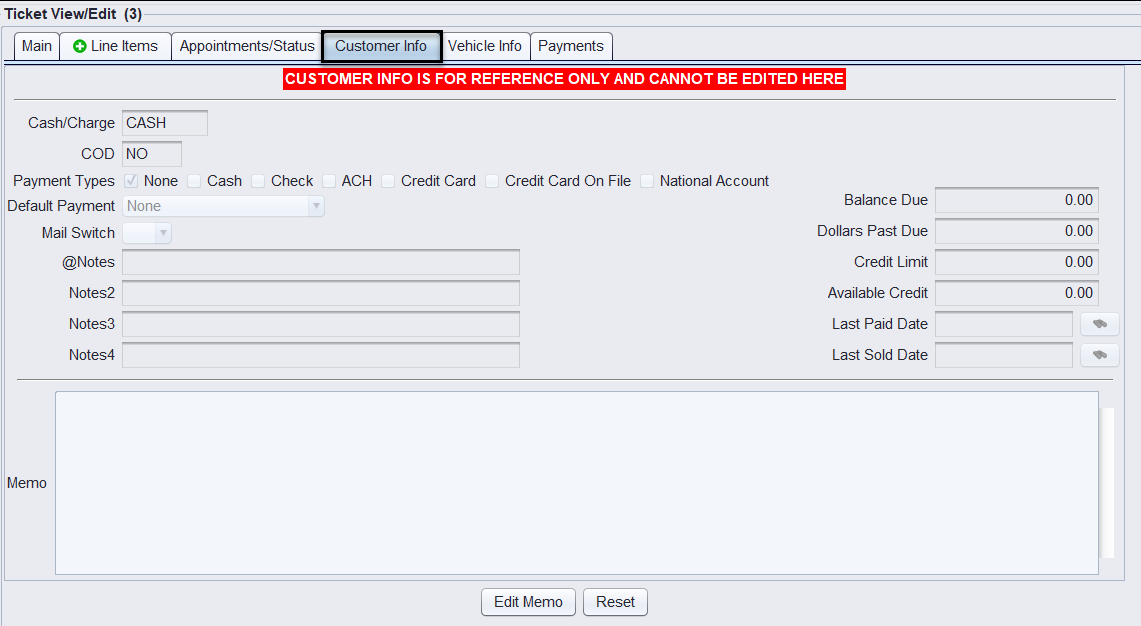
- Customer Info Tab: Contains the details from the Customer’s information page. Notes, memos, balances and payment types will be displayed here. Changes must be made on the Customers>Account – View/Edit page, with the exception of the Memo (click Edit Memo).
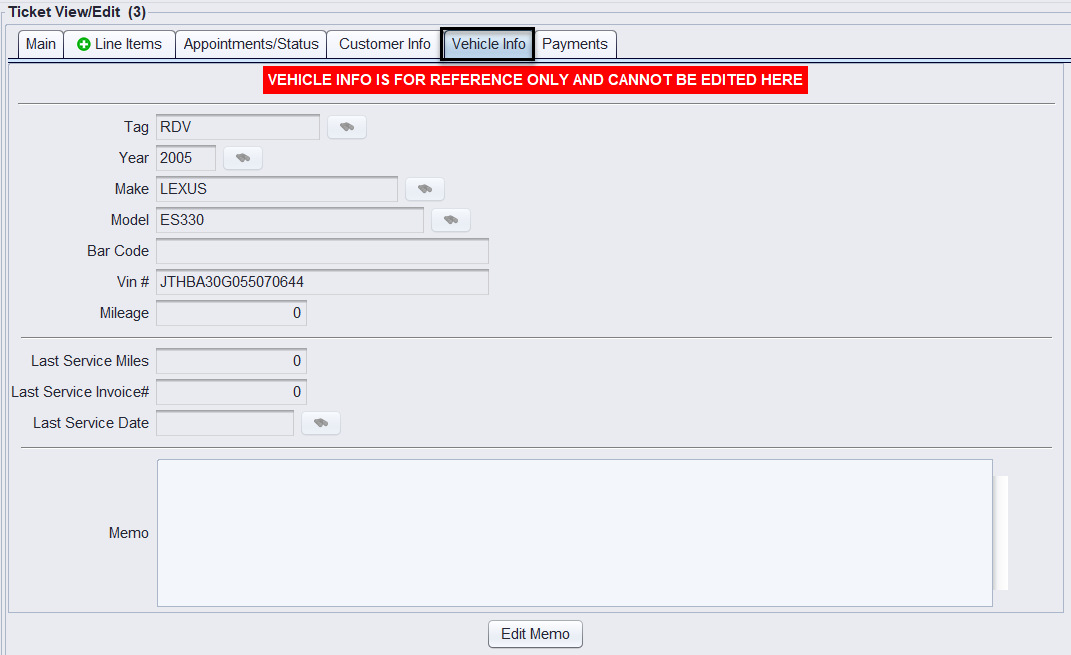
- Vehicle Info Tab: The Vehicle Info tab will contain service notes for the vehicle noted on the Main tab of the ticket.
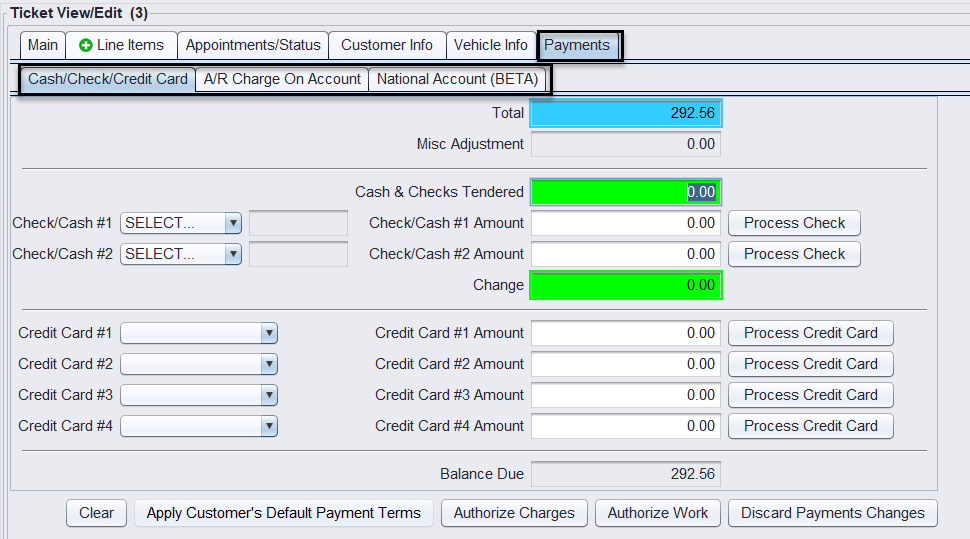
- Payment Tab: This tab captures the payment details when the customer is ready to pay.
4. Utilizing Ticket Functions
- Bottom Buttons: Many functions needed to process the ticket are accessible through buttons at the bottom of the ticket interface.

- Right-Click Menu: Access additional functions by right-clicking in the main window of the ticket or on other screens within the application.
